Features & Specs
- Introduction
- Structure
- Operation
- Options
- Specifications
Operation
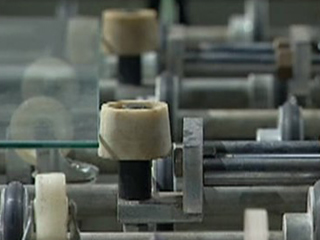

1. Glass is manually loaded onto pre-registration inlet conveyor. Positioning pins pop up and push glass until it is hold within positioning pins in place. Roller begins to bring glass into subsequent screen printing machine.
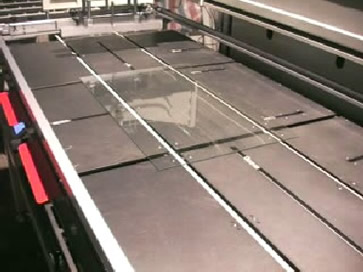
2. Conveyor belts run in synchronize speed with inlet conveyor rollers while air blower is running to create air cushion on printing bed. Conveyor belts bring glass into printing bed until it is at proper leading position. Conveyor belts lower down below printing bed level. Registration pins moves towards glass and push glass within pins internal area until glass is hold in accurate place with the help of air floatation. Pins then lower down below printing bed level.
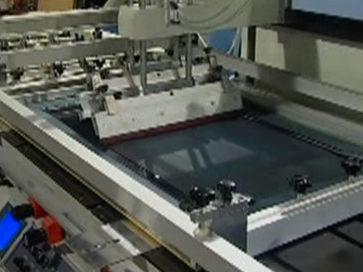
3. Stencil begins to lower down. Squeegee bar depresses and starts to move longitudinally on stencil while images are being formed on glass surface. In the mean time, peel off mechanism is activated synchronizing with squeegee bar moving speed. When squeegee bar travels to the end, it rises up and meanwhile, flood bar depresses and starts to move backward and bring ink to where it begins.
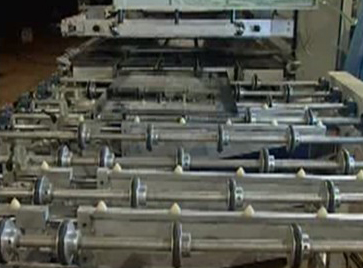
4. While stencil holding system rises up, registration pins release and conveyor belts pop up and bring glass out of screen printer until it arrives at outlet conveyor.
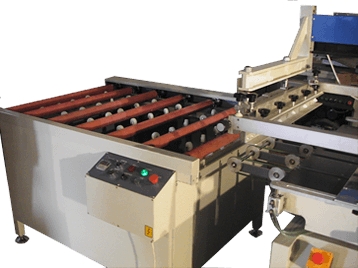
5. Printed glass will stop right on outlet conveyor. Glass is then ready for unloading.
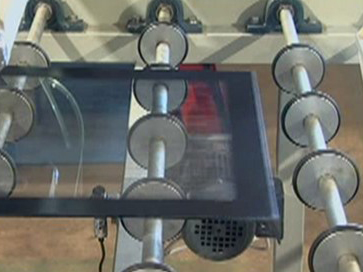
6. Glass always travels in alignment without deviation.